Ledlenser lights rank amung the best ones out there in the flashlight business. They manage to squeeze an awfull lot of light out of a relatively small battery pack, usually using AA batteries (except for their X21 lights, which are insane).
As opposed to chinese or other cheap brands, they advertise with the correct lumens. So no crazy stupid claims like 10.000 lumens out of 4 AA batteries.
I happen to own a couple of P14 lights, and they have this nice batterybox in it that holds 4 AA batteries and is fixed to the cap at the back. The whole thing just unscrews and comes out as one part.
Unfortunately, in one of the lights one of the batteries started leaking and made a nice mess. It affects the plastic of the endcaps which get brittle and just desintegrate.
The result is ofcourse a broken light.. New ones are available, but you do have to look around. And usually they do cost quite a sum of money plus shipping..
Since i have a 3d printer + ABS filament, i figured: lets make new parts that can replace the broken ones!
The batterybox is actually constructed in such a way that it can be taken apart and put back together again, very nice of ledlenser!
This make it easy to fix. You just take out 4 screws at both ends, and the whole thing just falls apart. Watch it though! At the contact end (with the 4 round contacts) there's springs! Make sure you catch those!
Otherwise, nothing special in particular about the parts.
Save the part with the button on it (it was in good shape fortunately), and the part with the threads on it that screws inside the cap. In particular the part with the threads on it is of interest.
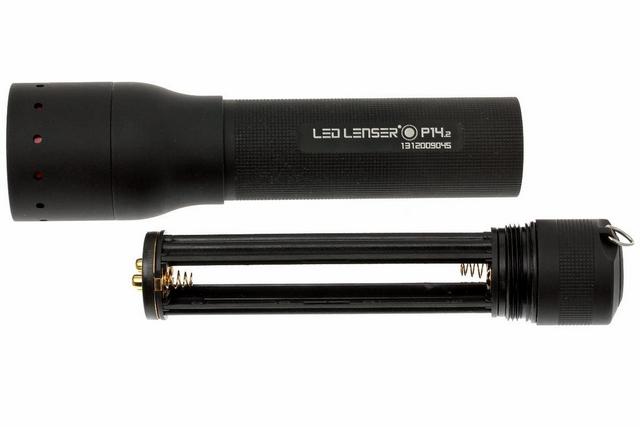
For fixing the box, in my case i needed 2 parts: the plastic part that holds the 4 contacts at the left end (in the above picture) and something that fixes the part on the right which is screwed into the cap on the right.
I wanted to save the threads, because it will be next to impossible to 3d print it, and even if i managed to do so, it probably wont hold well.
Instead, i just cut away everything above the threads except the center ring.
Now, with the printed parts and some good composite glue i can fix both ends.
I did print this with ABS, using a pretty coarse setting (.19 layer thickness using .4 nozzle) since i didn't mind estetics, and i made it one solid piece (or: 100% infill). This way i get the strongest part possible and considering the fact that
the thickest part is 4mm, it doesn't make much difference in time or plastic.
This one is the easiest side. The replacement part can just be used 'as is'. Since i did print with ABS, things shrunk a bit so i did have to use a 2.5mm drill to open up the small holes.
A 6mm drill cleaned up the sides of the bigger holes, but be carefull not to remove the 1mm flange holding the contacts in!
After that, it's no different from the original part, put in the contacts with their springs, and screw the whole thing together with the 4 screws.
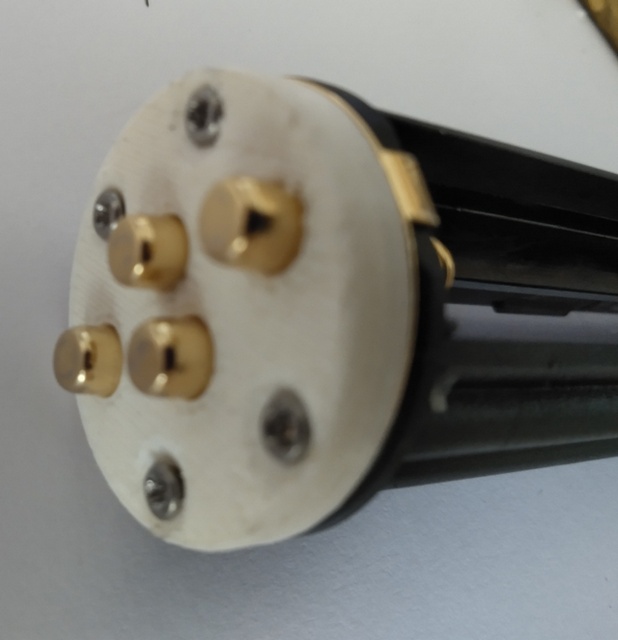
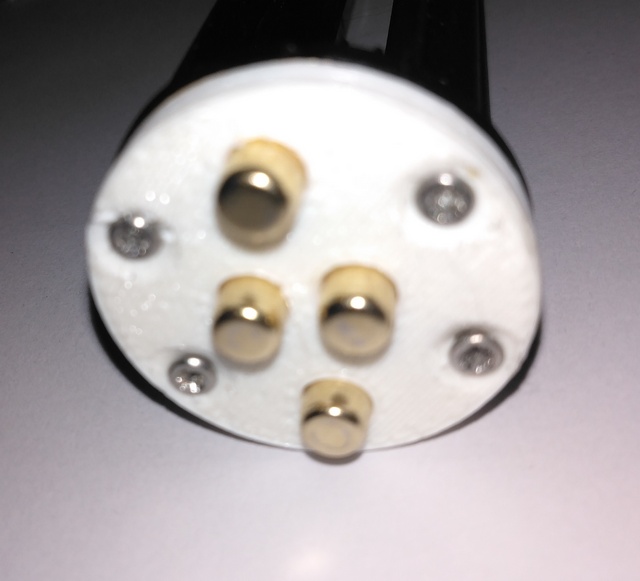
The switch side is a bit more tricky but also really straightforward. First thing to do: cut away everything above the threaded part, except for the center ring. This ring is used to nicely center the part on that is printed.
Cleanlyness is not an issue in cutting, nor straightness. The most important part of this is that the uprights on the printed part hit the bottom on the inside of what is left of the threads. This means you have to take off at least the original rim (of about 2mm) plus a bit extra (which is possible because the thread does not cover the entire part).
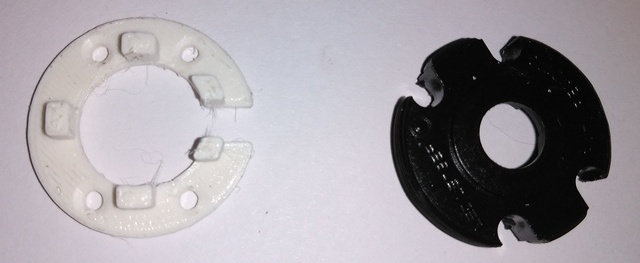
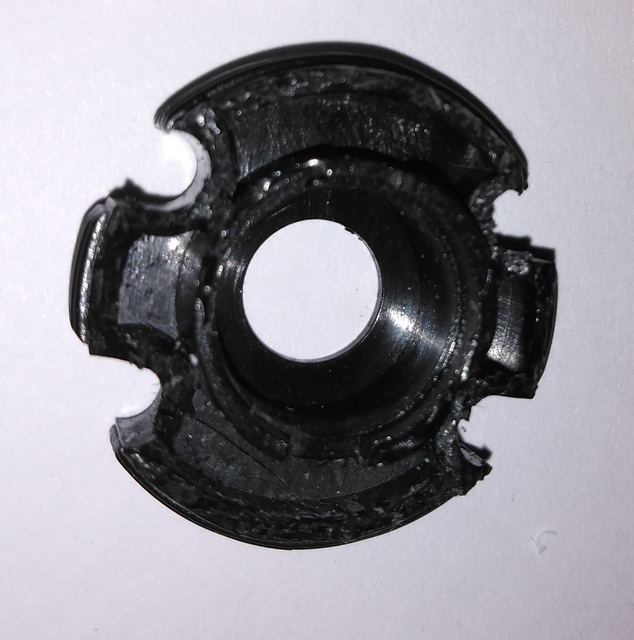
First, clean up the printed part by again opening up the small holes with a 2.5mm drill and removing the spiderwebbing etc.
I used a simple sharp wirecutter to straighten things out a little, but not as clean as you would for instance get things if you have a lathe.
You know enough is removed if you put the parts together and the total height at the screw holes of the printed part plus the threads is about 8mm tall.
Once done, get some good glue and fix the part together. I used special 2 composite glue for acrylic, which glues together most plastics rather well.
It will only fit one way, to make sure that the opening is in the same place as is one of the cutouts on the center ring.
This cutout is for the soldered contact of the switch, so the ring sits nice and straight.
Once glued, the whole thing can then be screwed back to the rest of the box, using the original screws.
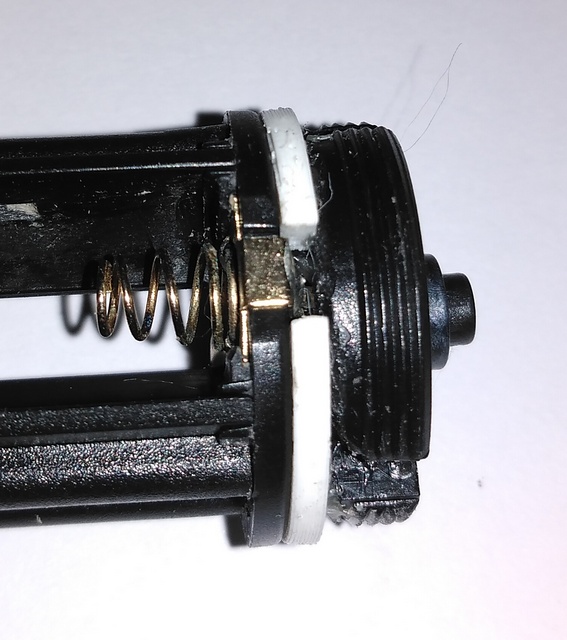
Make sure that before screwing the box back in the switch cap that the glue has cured 100%. Else you will push the just repaired glued part out again.
Once all cured and put back together, you can use the box as before.
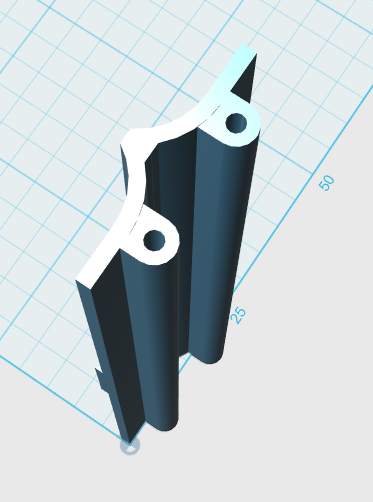
The main body consists of 2 identical parts between the switch and the contact parts. So you will have to print 2 of this part to make up the complete 'body' of the battery box.
Please note, the walls where those screws are driven in is not that tough, the walls around the hole are pretty thin. For that purpose it's best to do a little bit of cleanup and widening the holes to 1.7 or 1.8 mm with a small drill.
The designed size is 1.5mm, but depending on your printer the actual size might vary by a lot. For that reason it is certainly adviseable to drill it to a known size.
Otherwise, no prep is needed and the parts should fit as printed.
In the future, if needed, i can have a go at a complete cap including the threads, but that will be for another day. If i do manage this, it will be posted here.
Perhaps you already made one: i'd love to hear about it and receive the STL!


