In the Netherlands, there is a well known amusement park called 'Efteling'. It started out as a sports facility where a playground and a fairytale forrest was added.. things took off from there..
These days, it's one of the best parks around and they have this story about the 'volk van laaf' (english: people of laaf) characters. They do resemlble gnomes, but arent.
A company called "laaf products BV" obtained the rights from Efteling to produce and sell figurines of them, imagining alkinds of types.
They all have a name, all have a bronze coin attached (for authenticity) and most even have a passport (if you read the story about them, it makes sense).
If you collect them, you would want their name to be displayed in some way so i made name signs/plates. Not only wil they have to be able to stand on their own, but the laaf company also made these sort of stands you can attach to a wall. It is nice if you could hang the nameplace somewhere on that also.
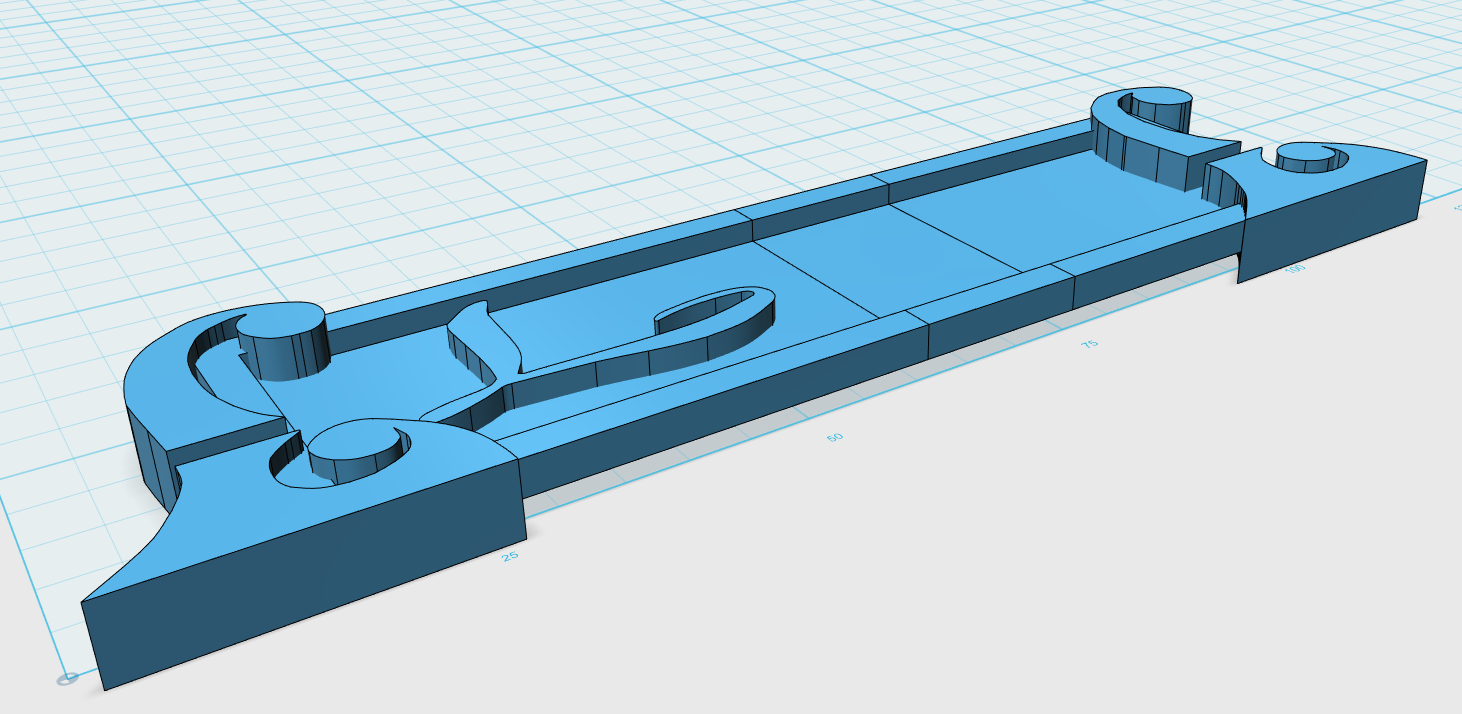
The design is as shown in the picture.
 I took the logo they all have on them and used it as the left and right side, connecting them with the plate in between.
The logo i made myself by getting hold of a decent picture of it, then tracing it in CAD and making it a 3d object.
I think it is trademarked, but i dont think it's a problem using it privatly for this purpose, also because the company no longer exists. Or at least, i could not find anything anymore.
At any rate, the logo is used as the footing of the nameplate and it can stand on it's own.
But, ofcourse, in some cases, this is not possible. For these cases, a generic backplate is made. How to use it is up to you, you can glue stands or hooks too it, then plug it into a nameplate.
The font type used for the laaf productions is a registered and paid font apparently, but there is a free one available that comes close enough for this purpose: dragonfly.
- First of all, install the dragonfly font in your system so you can use it in your CAD software.
- Open your 3d design software and import the left and right side seperately and put the open sides against eachother so you you get a sign like in the picture above.
- Create a new text object, and type the name of your laaf (usually, they start with an L). Make the font height 24mm and assign dragonfly font to it.
- Extrude the name to 2mm thickness.
- Now, the L that is already there comes in handy. Drag your new made name to the L, matching the L of the new name to the position of the L that is already there. This will ensure correct alignment of the name in the sign and will also ensure the names are all more or less aligned the same on all signs.
- Move the right side to the right so the name fits.
- If there is a gap between the left and right side, close it. This depends on your 3d software. Some allow you to simply drag the face of the right part, others work in other ways.
- Optionally: import the backplate and move it against the backside of the centerpart, not touching the logo's. Make sure the 4 pins stick in the plate, but the plate itself is flush against the back, centering it vertical and horizontal on the sign. Then, simply subtract the plate from the sign to create the holes.
- Once the whole sign is correct, export and print it.
The best orientation for printing is as it is displayed in the picture: flat on it's back.
This will allow the printer to use the better movement resolution of the x and y axis to make the characters. It also leaves a nice smooth surface inside the sign, which makes things easy for painting.
It does however create a considerable amount of support structure.
The best orientation to print the backplate is with the pins pointing upward. No support is needed and the pins will be as round as is possible on the printer.
The backplate can be used to attach a hook or a footing to the sign in case it is not possible to stand it on it's own footing. For this, you will need to create the hole for it as described in the how to use, but you can snip off the pins and just glue it to the back of the sign.
You can use it to design a footing in 3d and print it, or just print it and glue something else to it.
The idea is that the signs are light enough to be able to attach the backplate to the sign just using the 4 holes, no glue or anything else. For this purpose, the holes are not resized after subtracting it from the sign, but left 'as is'.
This will create a hole that is just a little too small, but with a 2mm drill or reamer, you can make it to the correct size. It will make the pins fit snug in the hole and in most cases the sign will not fall off even when held facedown.
Make sure to use a bit of sandpaper to round off the pins on the backplate if needed.
